

Key takeaways
- Studs first, everything else second. Framing is normally 16” on centre, sometimes 24”. Find both edges of a stud and mark the centre — don’t trust a single beep.
- Screen centre at seated eye level. For most living rooms that puts the middle of the screen somewhere around 42” from the floor. Measure from your sofa, not from a rule of thumb.
- Drill pilot holes, always. A lag bolt driven into a stud without a pilot hole can split the timber, and split timber holds nothing.
- Level the wall plate, not the TV. Get the bracket right and the screen follows. Most mounts have a little play for final adjustment afterward.
- Two people for the lift. Anything over about 40” is awkward and expensive to drop. This is the step where damage happens.
Mounting a TV is four decisions and about forty minutes of work. The decisions are the part that goes wrong. Get the wall type, the height, the mount and the fixings right and the drilling is almost an anticlimax. Get the wall type wrong and you find out the expensive way.
This is the sequence we use on real installs, in the order it actually happens.
- Screen centre
- Seated eye level. Around 42″ off the floor in a typical living room, but measure from your own sofa.
- Stud spacing
- 16″ on centre most often, sometimes 24″. Mark both edges, work out the middle.
- Pilot holes
- Always, into timber. Slightly under the bolt's core diameter.
- Level what
- The wall plate, never the TV. The screen follows the plate.
- People needed
- One for the bracket. Two for the lift, on anything past about 40″.
- Time
- Under an hour on drywall. Masonry, cable routing and a recessed outlet each add to it.
Start With the Wall, Not the TV
Every guide tells you to find the studs. That advice assumes you have studs, and across the GTA plenty of people don't. What's behind your drywall decides your fixings, your drill, and whether this is a Saturday job at all.

Knock along the wall before you buy anything. Hollow with regular solid points every 16 inches means wood framing. Dead solid everywhere means masonry or concrete. Hollow with solid points that sound thin and tinny, in a building from roughly the last thirty years, often means steel studs.
| Wall | Fixings | What catches people out |
|---|---|---|
| Wood studs | Lag bolts into pilot holes | Nothing much. This is the straightforward case every manual assumes. |
| Concrete or block | Sleeve anchors, hammer drill, masonry bit | A regular drill will not make this hole. There's also no cavity, so cables go in a surface raceway. |
| Steel studs | Toggle anchors rated for the load | The hardware in the mount's box is for timber. Steel studs hold fine with the right toggles and fail fast without them. |
| Drywall alone | Don't | No anchor makes bare drywall safe for a TV. Find structure or fit a backer board. |
That third row is worth pausing on. Steel-stud partition walls are everywhere in GTA condos and newer builds, and a 65-inch panel hung off the timber lag bolts that came in the box is the single most common way a mount ends up on the floor. If the studs feel thin when you knock and the building isn't old, assume steel and buy toggles.
How High? Measure, Don't Guess
Put the centre of the screen at your eye level when you're seated. In a typical living room that lands somewhere around 42 inches from the floor, but that number is a starting point, not an answer. A low sofa, a deep room or a raised floor all move it.
Do this instead. Sit where you'll actually watch from, look straight ahead, have someone mark the wall. That mark is screen centre. Then cut a rectangle of cardboard the size of your TV, tape it up around the mark, and live with it for an evening.
Mounting too high is the regret we hear most
Above a fireplace looks tidy in a photo and hurts your neck in practice. It also washes the picture out, because most panels lose contrast badly when you view them from below. If the fireplace is the only wall you have, a pull-down mount solves it. A fixed bracket up there does not.
Tools You Actually Need
- Stud finder, plus the willingness to confirm by knocking.
- Drill and the pilot bit your mount's instructions specify. A hammer drill and masonry bits instead, for concrete or brick.
- Socket wrench that fits the lag bolts. Rounding one off turns forty minutes into an afternoon.
- A level long enough to sit across the wall plate, not a phone app.
- Tape measure and pencil, and cardboard for the mock-up.
- Safety glasses for anything overhead, and a dust mask for masonry.

The Install, Step by Step
This sequence is the same whether you bought a fixed, tilting or full-motion bracket. What changes between them comes after, and it's smaller than you'd think.
- Mark screen centre. From the cardboard mock-up, not from a rule of thumb. Draw a level horizontal line through it.
- Find the studs and mark their centres. Sweep slowly, mark both edges of each stud, and take the middle. Consistent 16 or 24 inch spacing tells you it's framing and not a pipe.
- Work out where the plate sits relative to screen centre. Measure from the TV's fixing holes to the top and bottom of the panel. The plate rarely sits at screen centre, and this is the step people skip and then re-drill.
- Hold the plate up and level it. Level across the plate itself, mark your holes through it, then put the plate down and check the marks are on stud centres.
- Drill pilot holes. Slightly under the bolt's core diameter, into timber. A lag bolt driven dry can split a stud, and a split stud holds nothing while looking perfectly fine.
- Bolt the plate on and stop at snug. Tight against the wall, then quit. Past that you strip the thread in the timber and quietly remove the strength you were counting on.
- Test it before the TV goes anywhere near it. Pull down and out on the plate, hard. No movement, no creak.
- Attach the brackets to the TV. Face down on something soft. Check the VESA pattern matches and use the spacers if the back of the panel is curved or recessed.
- Lift together and engage the plate. Two people past about 40 inches. One steadies, one seats it. This is the step where screens get dropped.
- Check level, then lock everything off. Most plates have a little play for exactly this. Adjust, then tighten the safety screws.

What Changes for Tilting and Full-Motion Mounts
Not the wall work. The plate goes on the same way for all three. The differences are these.
- Tilting. Set the angle after the screen is up, usually 5 to 15 degrees down, then lock it. Tilt earns its money when the TV sits higher than eye level, and it cuts ceiling-light reflections.
- Full motion. The arm multiplies the load on your fixings at full extension, so the stud fixing matters much more here than on a flat mount. Leave slack in the cables for the full travel, and test the whole range before you tidy anything.
- Both. Moving mounts work their fasteners loose over time. Locking washers or thread-lock, and a re-check once or twice a year.
If you haven't bought the bracket yet, our comparison of fixed, tilting and full-motion mounts covers which suits which room, and it's worth reading how to measure properly before you mark anything.
Before You Call It Done
Four checks, two minutes:
- Level again with the screen on. Most plates still have adjustment at this point.
- Every bolt fully seated, and the safety screws in.
- A firm pull down and outward on the screen. Nothing moves, nothing creaks.
- Cables with enough slack for any movement the mount allows, and nothing pinched behind the panel.
Then put a reminder in your phone for six months out. A two-minute check once or twice a year is the whole of TV mount maintenance, and it catches the slow loosening that articulated mounts are prone to. If something already feels off, our guide to diagnosing a crooked or loose mount walks through it.
When This Stops Being a DIY Job
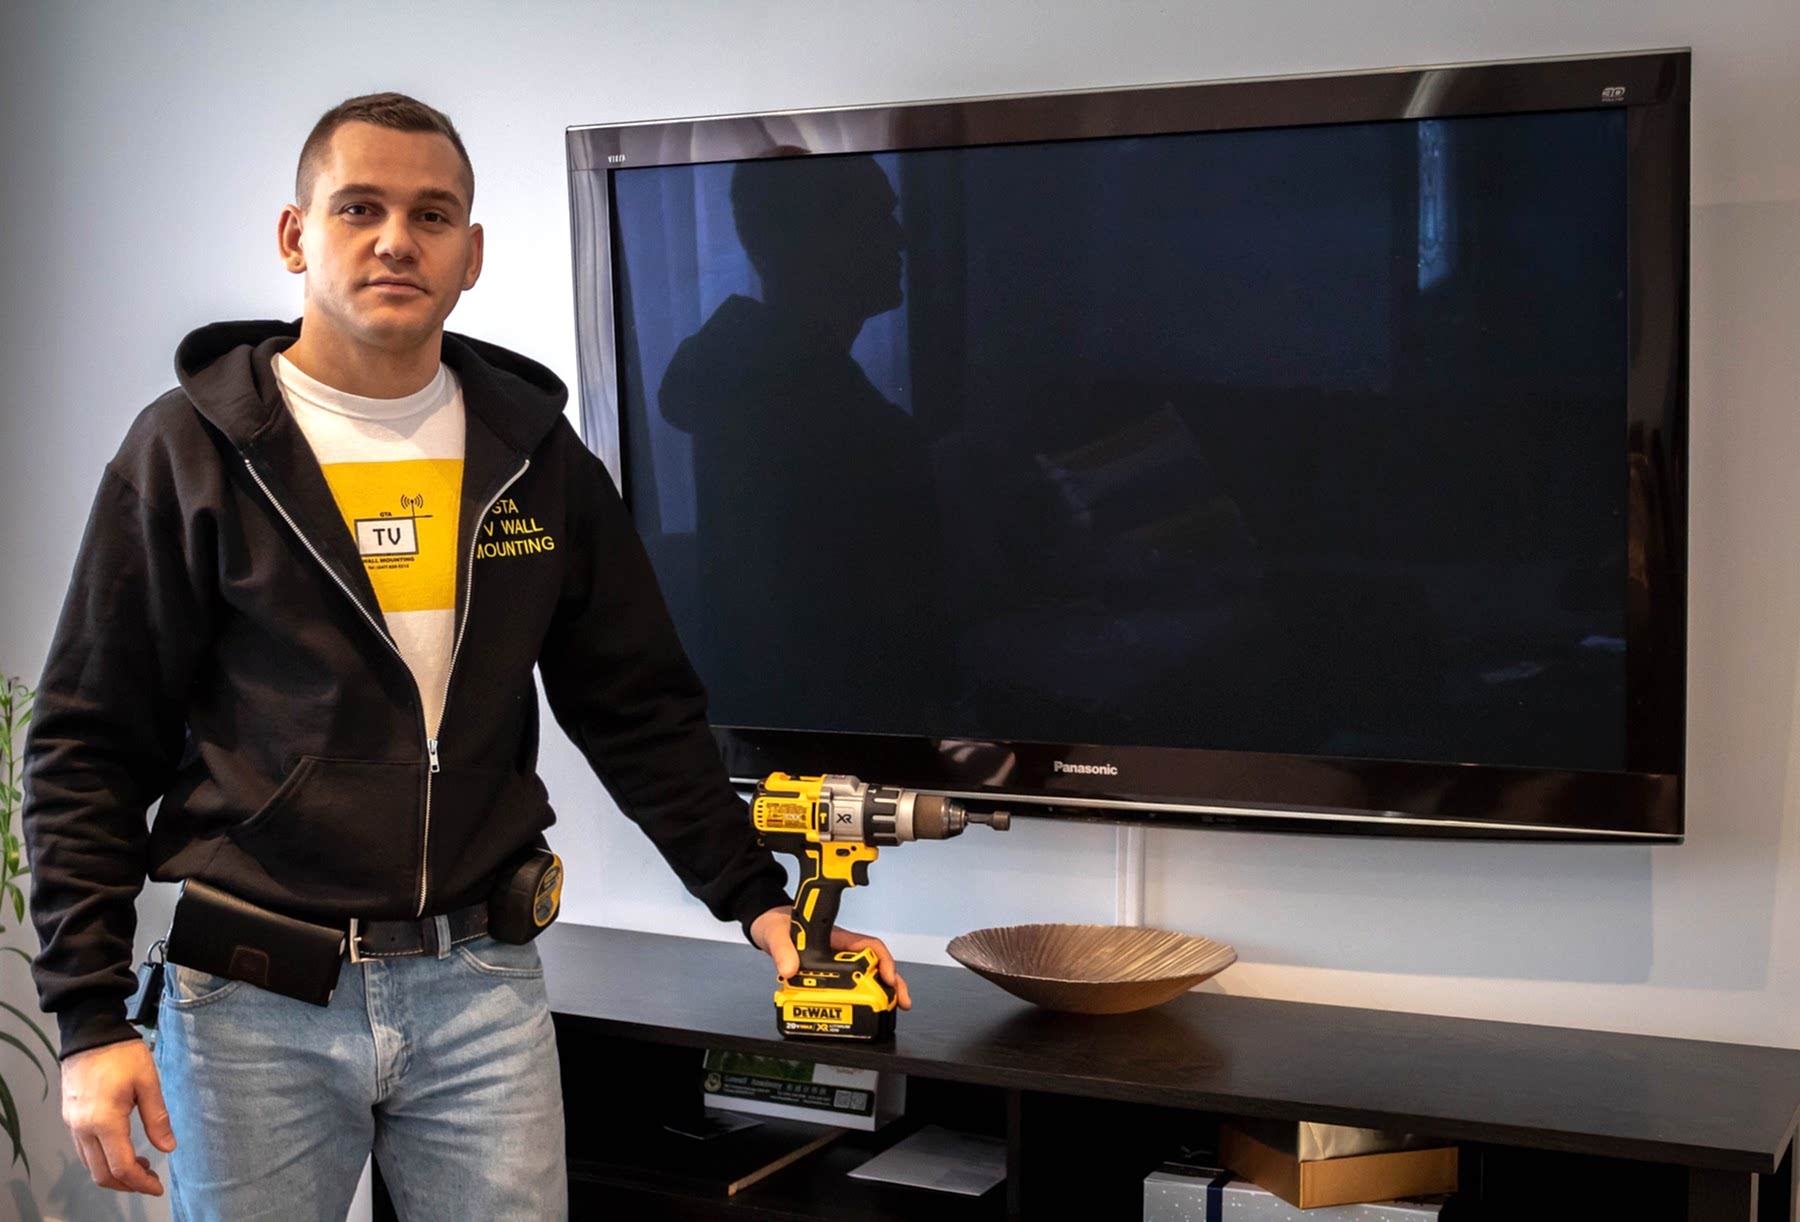
Do it yourself when you've got wood studs, a flat wall and a screen two people can lift. That's most living rooms, and there's no trick to it beyond taking the measuring seriously.
Call someone when you're into concrete, brick or steel studs, when the TV is going over a fireplace, when you want the cables inside the wall, or when the panel is big enough that a slip is a four-figure mistake. Those are the jobs where the right tools and having done it a few hundred times actually change the outcome.
GTA TV Wall Mounting covers Toronto and the surrounding GTA service areas, seven days a week. We carry $2,000,000 commercial liability insurance, every job comes with a one year material and workmanship warranty, and we're up to 50% less than comparable big-box store installation services. Tell us your wall type and screen size and we'll come back with a straight price.
Frequently Asked Questions
How high should I mount my TV?
Aim to put the centre of the screen at seated eye level, which lands around 42″ from the floor in a typical living room. The right number depends on your seating height and how far back you sit, so measure in the actual room.
Mounting too high is the most common regret — it causes neck strain and, on many panels, washes out the picture because you're viewing off-axis.
How do I find wall studs reliably?
Use an electronic stud finder, sweep slowly and mark both edges of each stud so you can work out the centre. Confirm the spacing is consistent — regular 16″ or 24″ intervals tell you you've found framing rather than a pipe or a cable run.
A small finishing nail through the drywall where the bracket will cover it is the old-fashioned confirmation, and it still works.
What tools do I need to mount a TV?
A stud finder, a drill with the right bits, a socket wrench for the lag bolts, a level, a tape measure and a pencil. Add a hammer drill and masonry bits if you're fixing into concrete or brick, and safety glasses for any overhead drilling.
Do I need pilot holes?
Yes, for wood studs. A pilot hole slightly smaller than the bolt's core lets the thread bite without splitting the timber. Skipping it risks cracking the stud, which quietly destroys the strength you were relying on.
How long does it take to mount a TV?
A straightforward drywall install is usually well under an hour once you've agreed the position. Masonry drilling, in-wall cable routing and fitting a recessed power outlet each add time.
Can I mount a TV by myself?
The bracket, yes. The lift, ideally not — anything over about 40″ is unwieldy, and you need one person steadying the screen while the other engages it on the wall plate.
How do I know the mount is safe once it's up?
With the bracket fixed but before the TV goes on, pull down and outward firmly on it. There should be no movement and no creaking. Once the screen is on, check level again and confirm every bolt is fully seated.